AUNV-TEMPORARY-FORUM
[ main ][ links ][ about ][ help ][ discussions ][ projects ]The Plastic Objective Section - 3D Printed End-cap for 80mm PVC Pipe -
The file for the objective lens section:
david-cascade-objective-3.stl <-- This is the STL or STEREOLITHOGRAPHY file. It's what is printed to a 3D printer. Make out of ABS plastic.
david-cascade-objective-3.dwg <-- This is the AUTOCAD file.
If you want some free software to measure it, use DRAFTSIGHT - It will also show it in 3D in constrained-orbit mode.
http://www.3ds.com/products/draftsight/download-draftsight/
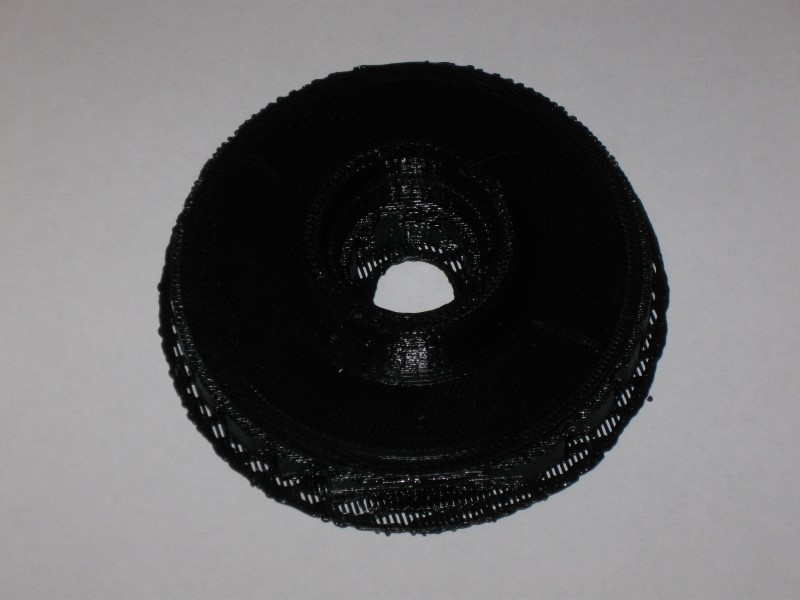
Hot out the printer.
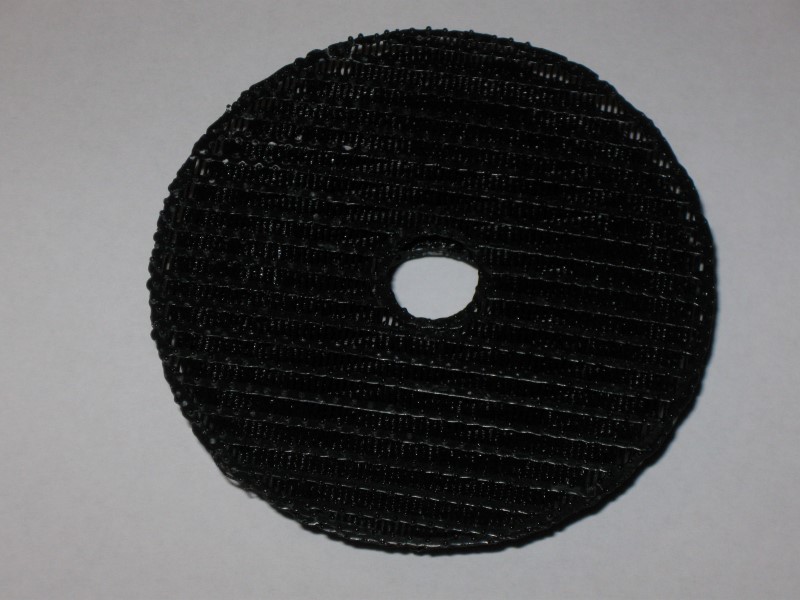
Scaffolding still visible and attached. Time to remove that with a knife and pliers.
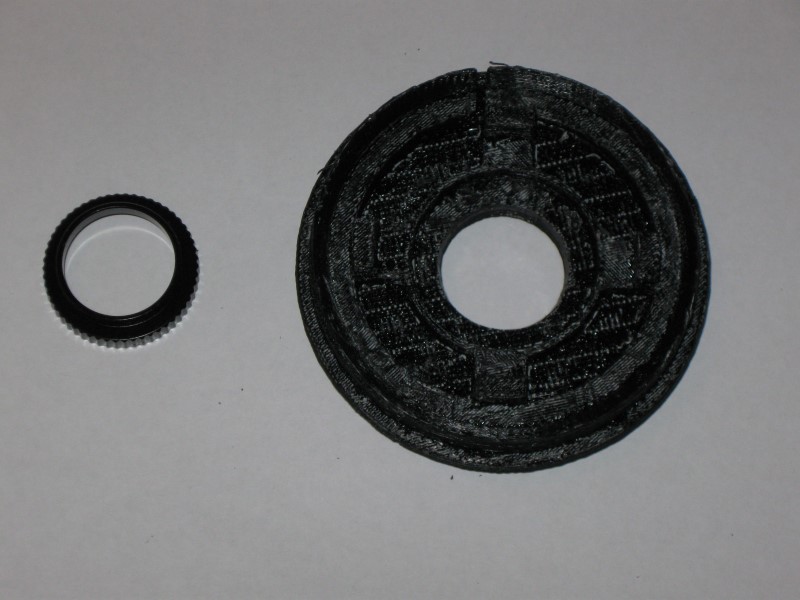
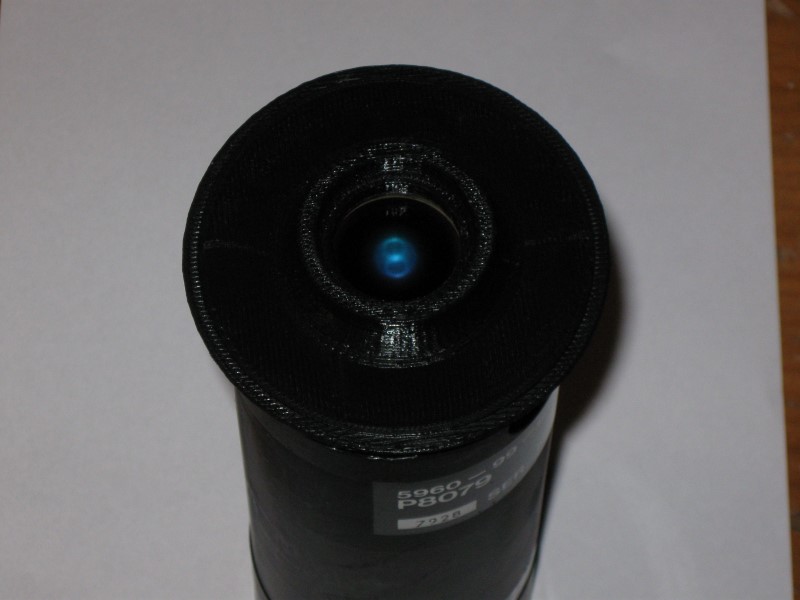
Removed - the only section to be thorough with is the ring just inside the edge - the face there meets the bearing on the tube and sets the height of the photocathode to the lens flange. Beside it can be seen the Cmount mounting ring. It's a press-fit while softened with acetone. Or just a straight press-fit, though sand/file if it looks like it might split the plastic. It can be glued also.
A sharper angle reveals a ring section in the middle - don't remove that with the scaffolding - it's to keep the light out of the photocathode if the housing gets scratched ( pvc lets IR light through )- The cutout is to let the wire for the negative terminal get out to the battery box.
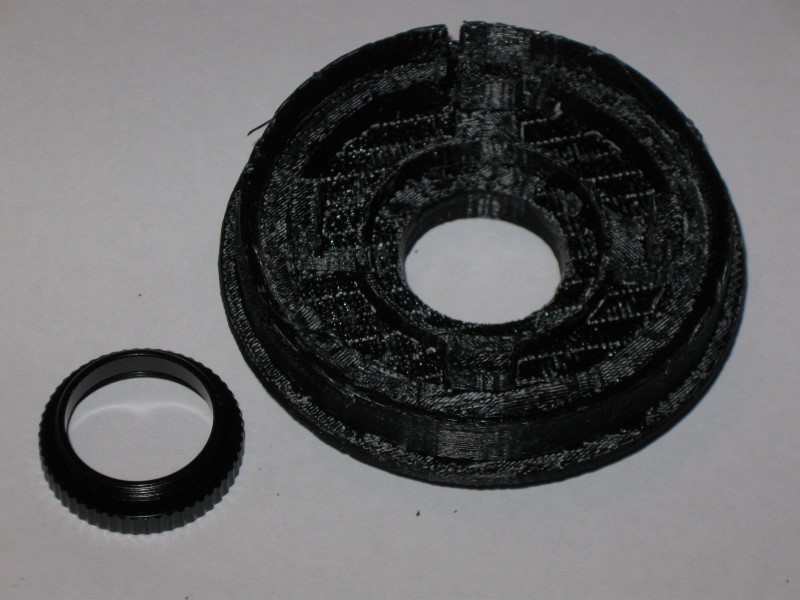
It sits on the tube perfectly, when the faces are clear, there's 12.5mm to the photocathode, exactly. If not, clean up that mounting face internally.
Ultimately, it will be glued into the PVC, though an end-cap will hold it in nicely as well.
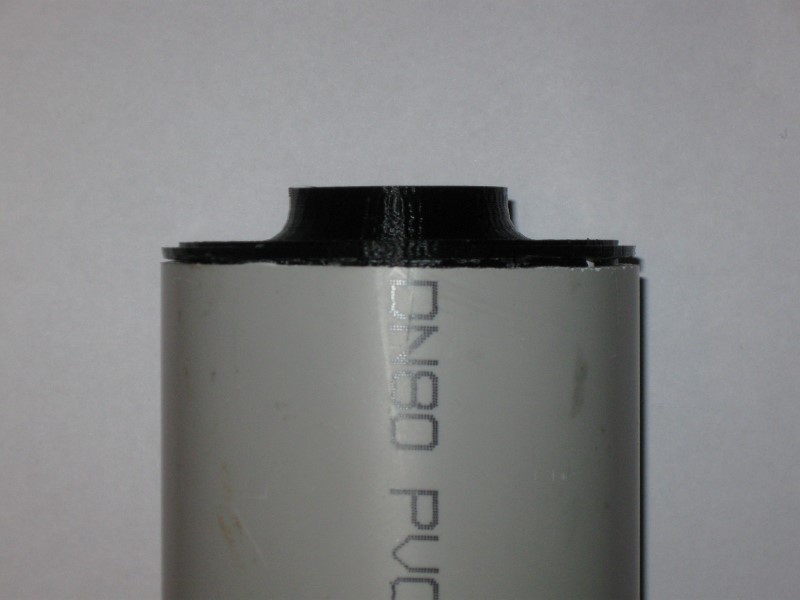
Yes, I know it's not cut very straight. it's an offcut. The PVC *DOES* need to be cut straight.
Last update: 12/5/2013
More to come next week.